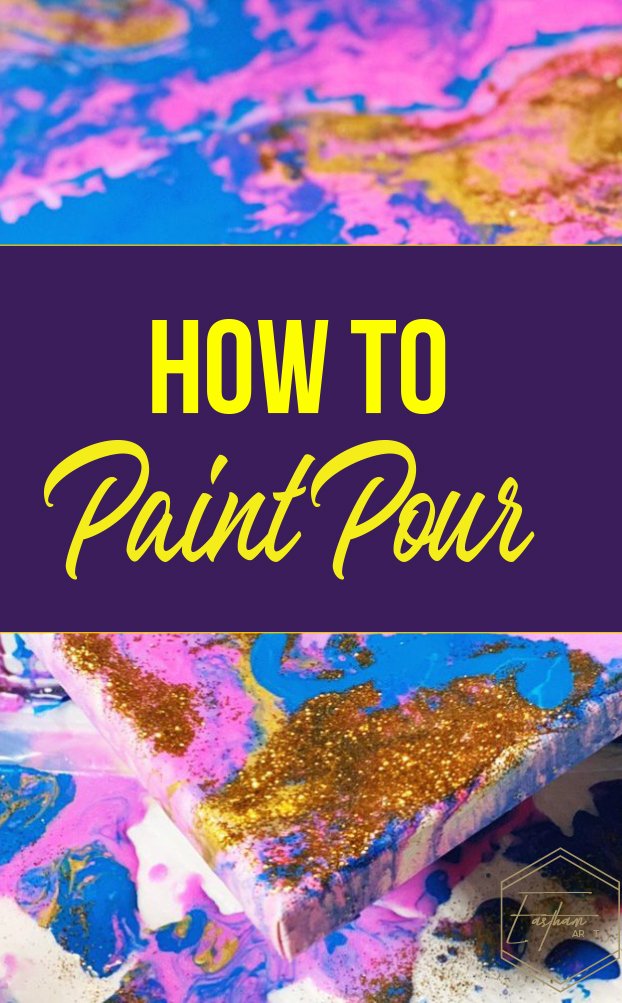
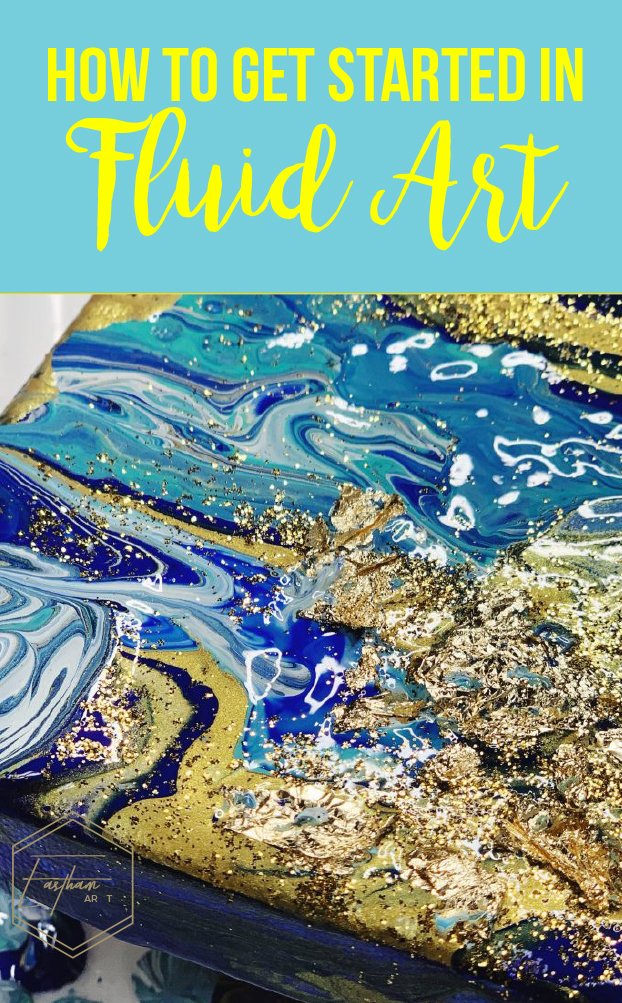
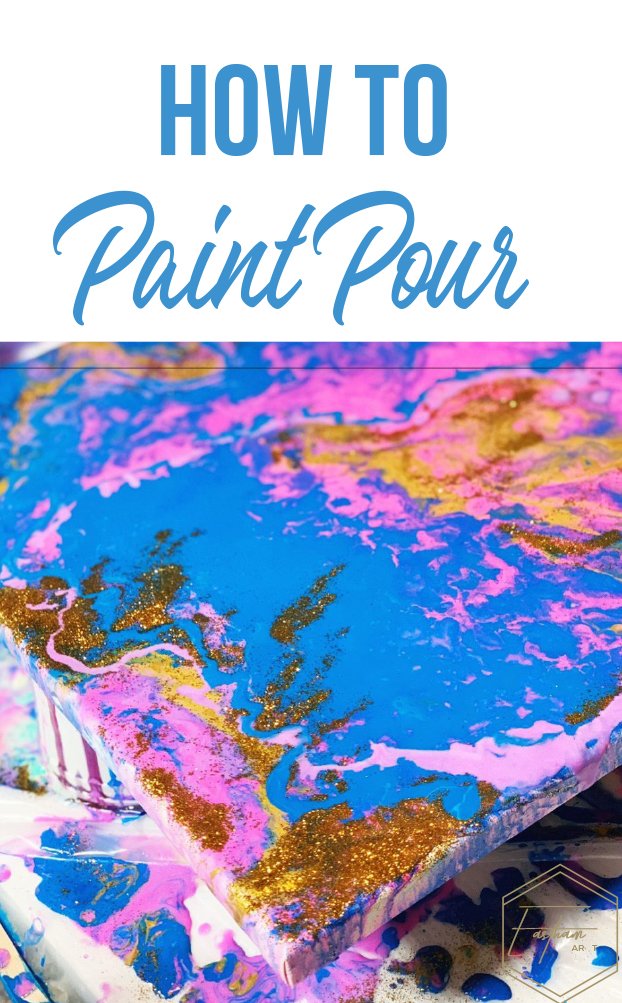
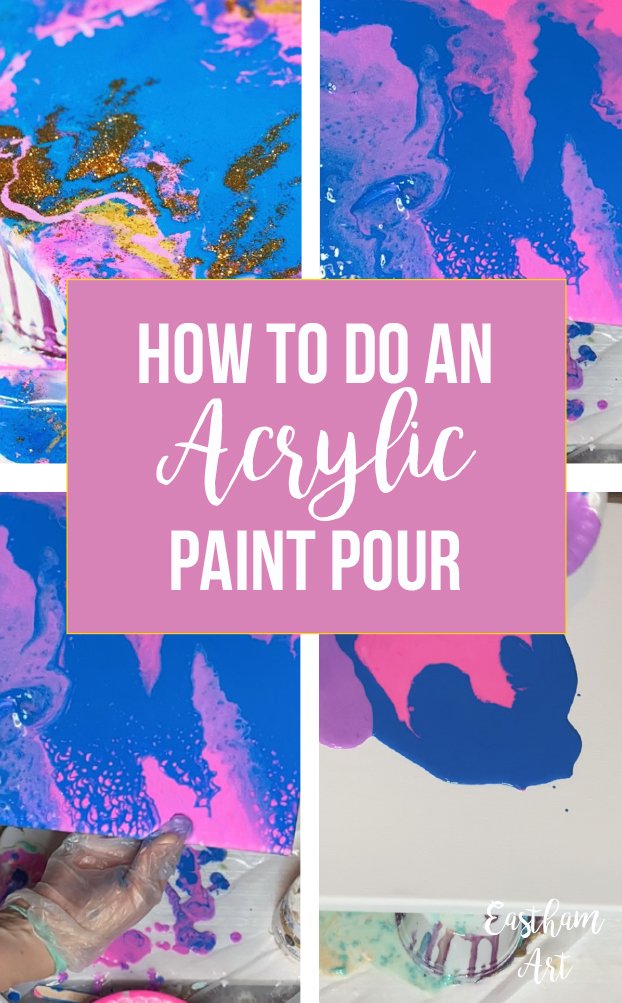
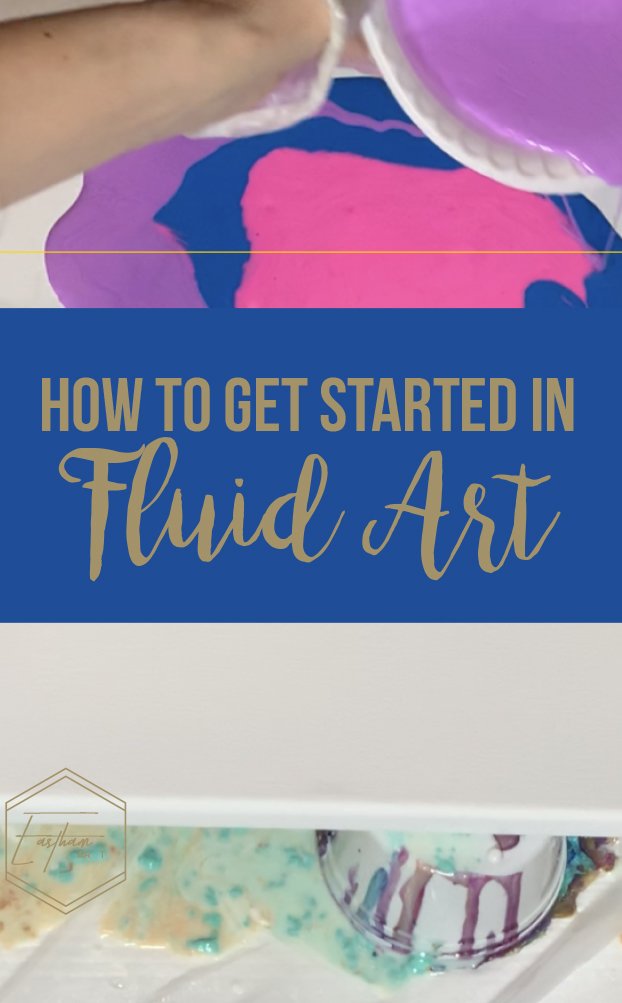
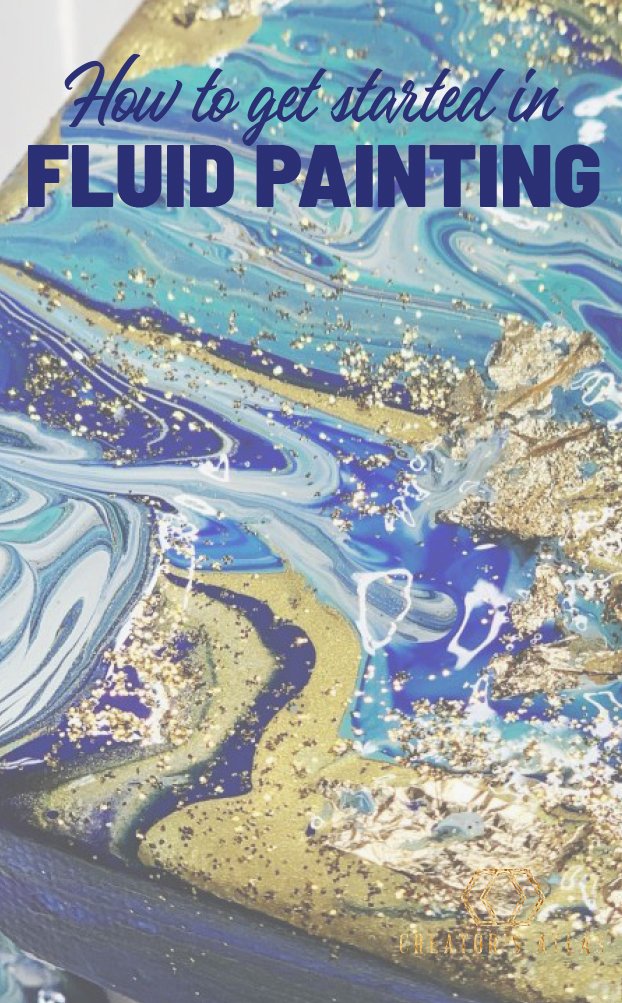
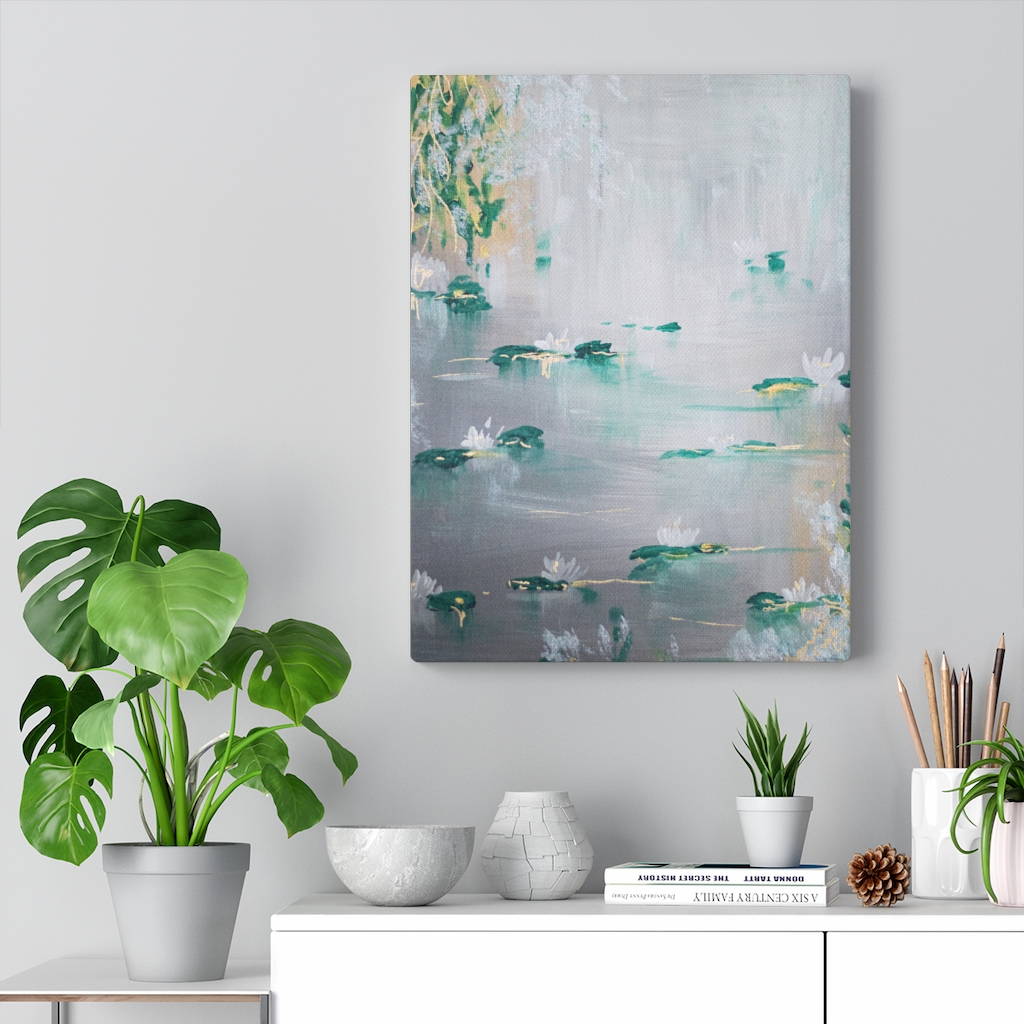
Getting Started in Fluid Painting: How to Paint Pour
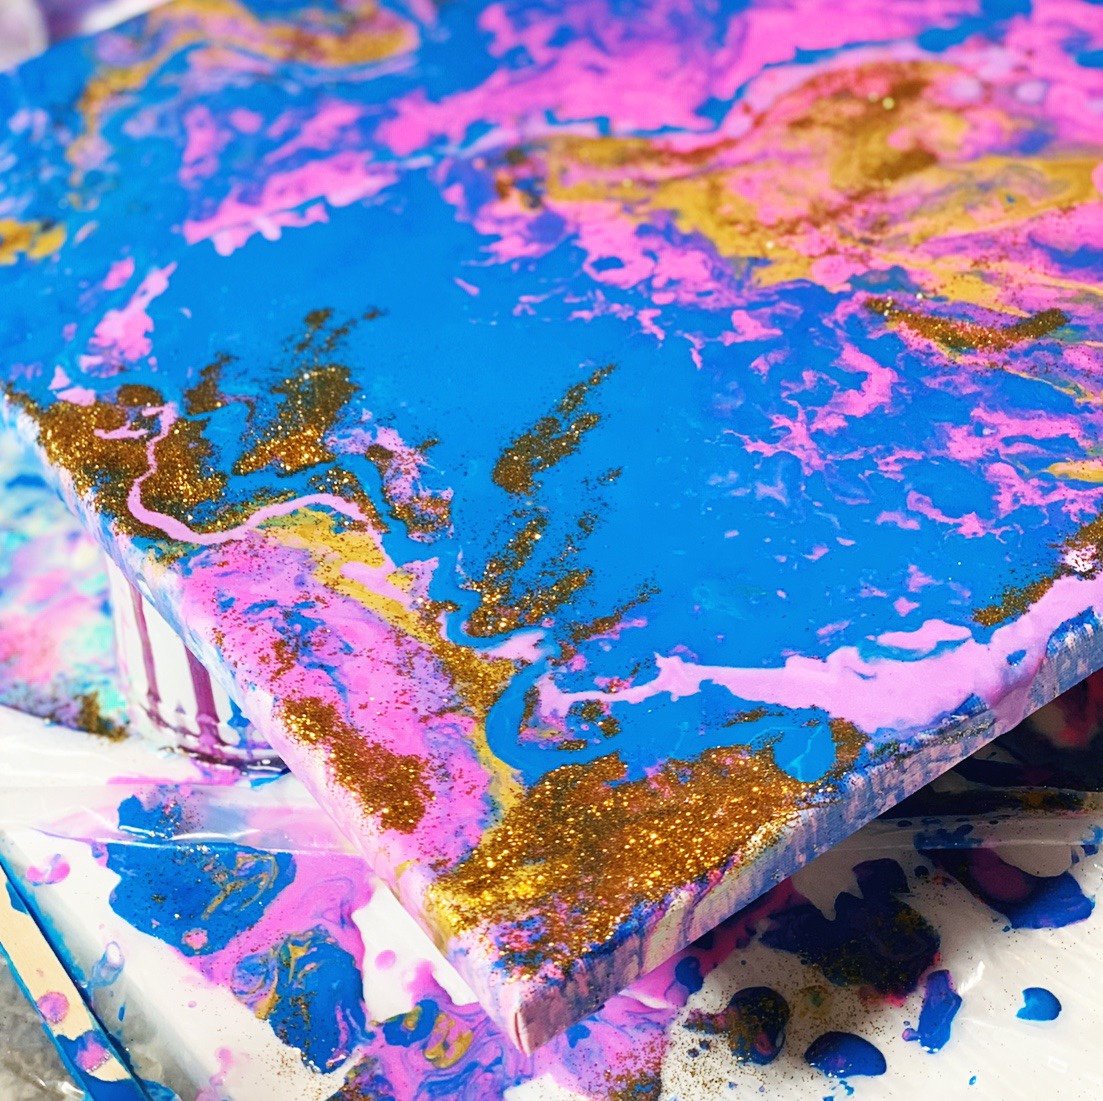
If you haven’t heard of fluid painting, I am about change your world! Fluid painting is an amazingly fun way to create gorgeous one of a kind pieces of art. If you want to see what I am talking about, head over to YouTube in a new window and type “paint pouring” in the search box.
Not only does fluid painting create amazing abstract paintings, but it is extremely addicting to watch! This easy tutorial will show you everything you need to know to join in on the fun and get started with paint pouring. Not only will I show you how to DIY your own fluid painting, but I will give you all the different supplies that you may need to make the greatest pour ever! Getting started in fluid painting has never been easier!
In this article, you will find:
- The Supplies Needed to Start
This post contains affiliate links, see our disclosure for details.
The basics: What you need to create a fluid painting
If you are wanting to do a pour painting at a low cost to see if it is for you, here are the basic supplies you will need to create a fluid painting. (There are more supplies that I will get into later in this post if you want to go all out.)
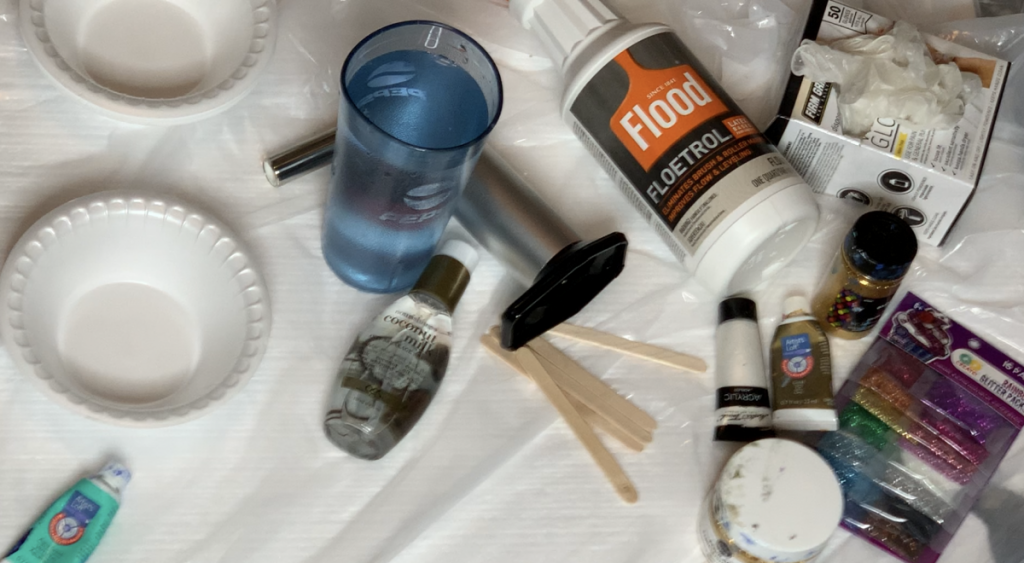
- A Pouring Medium (my favorite low cost option is Floetrol) Also Check out Liquitex, Hobby Lobby also sells premixed pouring paint.
- Acrylic paints in your choice of colors
- Some Plastic cups (one for each color)
- Stir sticks
- A canvas or panel
- A drop cloth
- and gloves if you don’t want painted hands
More Fun Supplies to Try
- Silicone Oil
- Rubbing Alcohol
- Glitter
- Straw
- Piece of Cardboard
- Drying Rack
- A Torch
- Resin (for top coat)
- Poly-acrylic (for top coat)
- Tape (To seal off bottom or edges)
How to create your first piece of Fluid Art:
Setting Up Your Space
For your first painting, choose a smaller canvas so you get a feel how everything goes together. Place your canvas on a protected surface. Use a drop cloth and protect your painting area well. Fluid painting can be extremely messy as paint will be dripping off the edges of the canvas and falling to the ground.
Place your painting on a raised level surface. You can place it on top of plastic cups or be inventive and make a platform.
While it is OK to create with your painting on the ground, it is advisable to let it dry off the ground so paint can freely drip and it doesn’t end up getting stuck to your painting surface.
Mixing the paints
Now that you have your work space all set up, we can get to the fun part! To mix the paints, add 2 parts Floetrol with 1 part acrylic paint color of your choice and 1 part water (distilled is best). You can also add glitter and silicone oil (more on that later) if desired.
Mix each color in a separate cup. You should be able to see the color darkness in the cup. Add the smallest amount of color possible to get your desired shade. Too much paint will make the pouring medium thicker and it will not mix or create effects as well.
Getting started in fluid painting: Decide What you want your painting to look like
The next step will vary depending on how you want your pour painting to look. There are various fluid painting techniques that will determine the outcome of your painting. Take a look at the following samples and decide with way you would like to go. You can always mix styles and techniques to create amazing effects (that is the fun part of art)
Paint Pouring Techniques: The Dirty Pour
A dirty pour creates an amazing marbled swirly arrangement of colors. The colors can be swirled around on the canvas and tiled back and forth to create some amazing effects.
How to do a dirty pour:
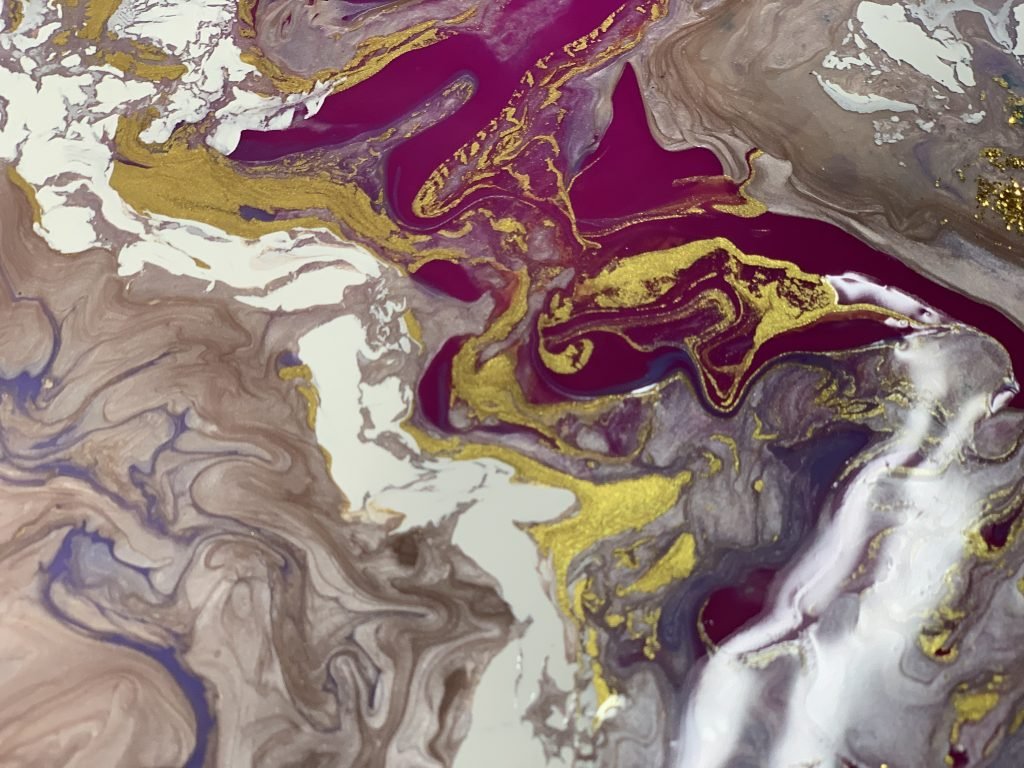
Starting with the darkest colors, pour them into a big cup. Alternate colors from dark to light to dark and create a pattern that is all your own. When you start each new color, pour it into the center of the cup.
When you have all of your paint in one cup, flip the cup upside down on the center of the canvas. (It is often easier to flip the canvas onto the cup first and them flip both together.) You can then lift up the cup allowing the paint to spill out, or you can move it around, creating a trail before you lift. It is entirely up to you.
Once you have the paint spilled out on the canvas, lift up the canvas and tilt it back and forth and side to side. This allows the paint to mix together creating unique patterns and amazing swirls.
Funnel Dirty Pour
A funnel dirty pour is a lot like the cup version, but instead of dumping everything out at once, create a funnel spout to pour from and move the color around the canvas as you pour.
Let the paint just drip off the edges to get them covered as well.
When you have your paint where you want it, you can further manipulate if by blowing it around, or by dripping more paint on top of your pattern. You can also use a stick or a knife to guide colors together the way you would like them.
Fluid Painting Techniques: The Straight Pour
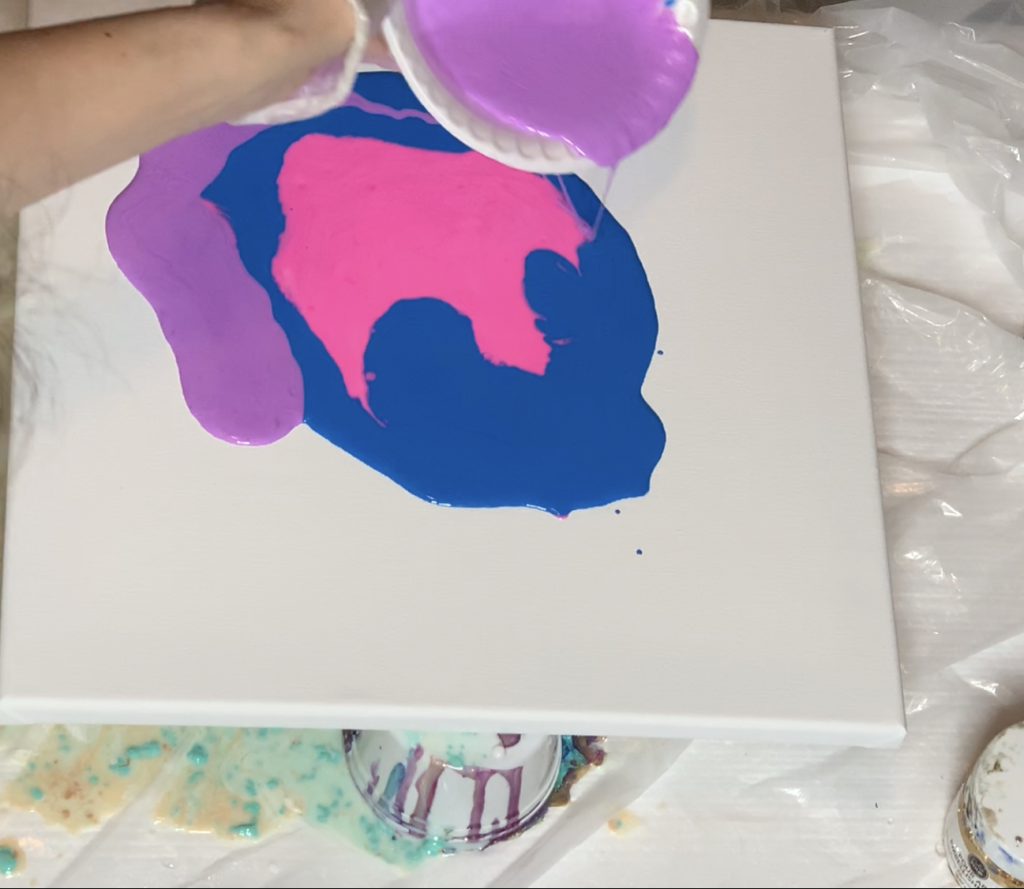
A straight pour is simply pouring each color out onto the canvas separately where you would like them. You can then blend and twirl the paint together in the way that you would like it to go. This method gives you more control of the image your painting will form and will allow to to have solid areas of color (if you so desire.)
Paint Pouring Techniques: Swipe Fluid Painting
A swipe painting starts out with either a dirty or straight pour with colors layered on top of each other. Then something (such as a piece of cardboard, wood or a cake icing tool) is used to lightly scrape the top surface of the paint.
By scraping only the top layer, interesting almost web-like looks are achieved in the picture. This is definitely another unique way to create fluid art!
Manipulating the Paint in Paint Pouring
There are so many ways to change the look of your painting as it flows to its final form. Often times, it is best to just leave it alone, but if you are wanting to add some more effects consider:
- Using a straw to blow paint in vein like designs
- Splattering paint
- Adding another layer once the original is dry
- Using a stick to swirl the colors
- Adding glitter or sand
- Dabbing a sponge or paper on the painting to create a new texture
How to get Cells
If you have watched the pros do their paint pours, you may have noticed the formation of cool openings and patterns. If you are wanting more cells in your art piece, there are a few things you can do.
Add Silicone
You can search for pure silicone, use lubricating silicone oil or even hair silicone.
Silicone added straight to your paint colors will add in creating more cells. This is due to the fact that the oil doesn’t mix with the water based paints.
Try experimenting with different ratios of oil. A good place to start would be 4 or 5 drops of oil into each paint color.
Adding Isopropyl Alcohol
Adding Isopropyl Alcohol may contribute to some interesting effects and cells in your paintings. The alcohol wants to evaporate right away so it pushes its way to the surface as you pour. A good recipe to start out with would be to eliminate some water in your mixture and add part alcohol to the mix. You could also drop some alcohol directly on to the canvas and see what happens.
Using a Torch in your Fluid Painting
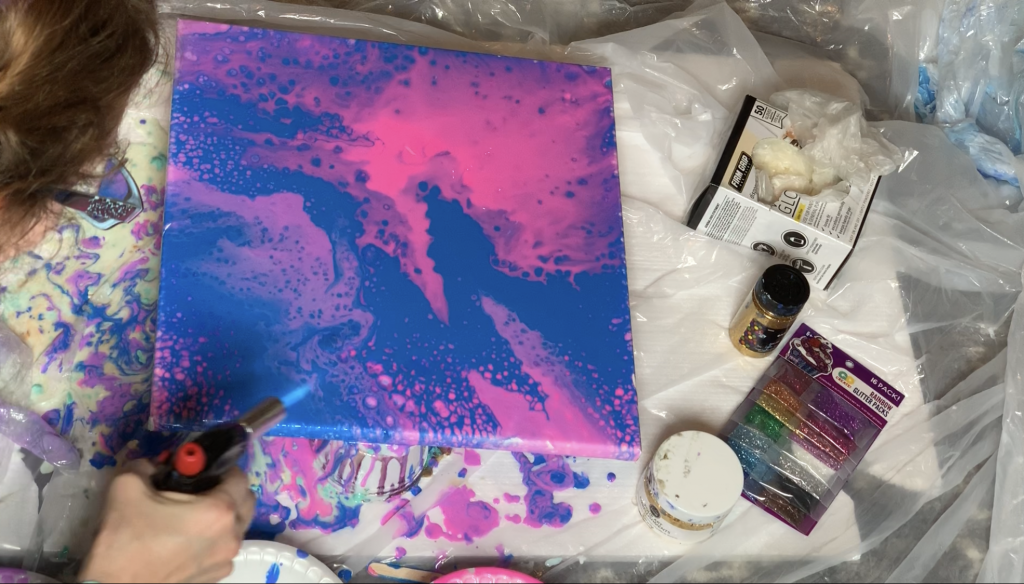
This is my favorite part! To make more cells, and eliminate any bubbles, a torch is a great option. A simple chefs torch is perfect for this. Just run the flame over the painted area and watch the magic!
Adding a top coat to your Painting
Once you are done with your painting and it has dried, consider adding a top coat. Resin will give it a glass like shine or poly acrylic and gloss varnish will work well. If you are using Liquitex pouring medium, you may be happy with the sheen it dries with. The options are limitless!
I hope this gives you some ideas for creating your masterpiece fluid art painting. In art, anything goes, so get into your creative mode and just create! Check out these tips on creating an abstract art piece and be sure to subscribe for more inspiration and special art deals!
